Setup guides
How to Set Up IPTV on Your TV: A 15-Minute Walkthrough
Most IPTV setups that go wrong do so in the first ten minutes: the wrong app on the wrong device, a typo in a server address, or a TV guide that never loads because one field was skipped. This walkthrough is the order we use on the help desk. Follow it once and you will rarely need to touch the settings again.
Before you start: three things to have ready
- Your subscription details. After ordering you receive either a username, password and server address, a playlist link (M3U), or instructions to register your device address (MAC). Keep the message open on your phone.
- The screen you will use most. Set up the main TV first. Extra devices take two minutes once the first one works.
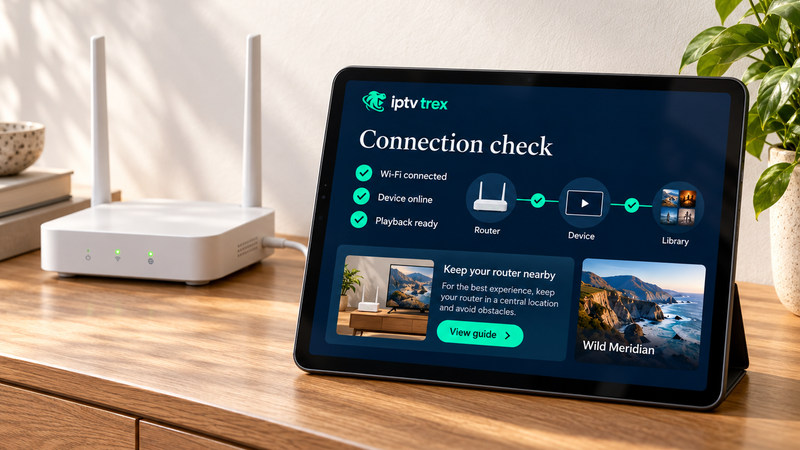
- A stable connection. 15–25 Mbps measured on the TV itself is comfortable for HD; aim higher for 4K. Our installation guide explains how to test properly.
Step 1: Choose the right player app for your device
IPTV works through a player app. The subscription is the content; the app is the remote control and TV guide. Which app you can use depends on the device:
- Android TV, Google TV and Android boxes: install a player from Google Play. No workarounds needed. See IPTV on Android.
- Samsung and LG smart TVs: use a player listed in the TV’s own app store. Choices are narrower, so check our Smart TV guide first.
- Fire TV Stick: some players are in the Amazon Appstore; others need the Downloader app. Our Fire TV Stick guide covers the safe route.
- Apple TV, iPhone and iPad: several App Store players accept playlist links. See IPTV on Apple TV.
Only install apps from the official store or from a link your provider confirms. A player that asks for payment card details inside the app is not something we send you to.
Step 2: Enter your details exactly as sent
Open the player and choose the login type that matches what you received:
- Xtream Codes / API login: type the username, password and server URL. Include
http://and the port number if one is given. Most failed logins come from a missing port or an extra space after the password. - M3U playlist: paste the full link. On a TV remote this is tedious, so many players let you add the playlist from a phone or a web page instead.
- MAC / device address: note the address the app shows and send it to us. We link it to your subscription and the app loads after a restart.
If something fails, our activation page lists the common error messages and what each one means.
Step 3: Load the TV guide (EPG)
Channels can play before the guide appears. Most players download the program guide automatically after login; give it two or three minutes on the first run. If the guide stays empty, look for an “Update EPG” or “Refresh” option in the settings, and check that the time zone on the TV is correct. A wrong time zone is the usual reason a guide shows the wrong programs.
Step 4: Organize before you binge
Spend five minutes hiding categories you will never watch and adding your everyday channels to Favorites. It makes the app faster to navigate and makes it much easier to tell us which channel misbehaves if you ever need help.
Step 5: Test at peak time
A stream that is perfect at 2 p.m. can stutter at 9 p.m., when every household on your street is online. Watch a live sport channel and a film between 8 and 10 p.m. during your free trial or first days. If it holds up then, it will hold up whenever you watch.
Common setup mistakes
- Using Wi-Fi from the far end of the house when an Ethernet cable is an option.
- Logging in on more screens at once than the subscription allows.
- Installing several player apps and mixing up which one holds your details.
- Leaving the TV’s power-saving mode on, which can throttle network performance on some sets.
Still stuck?
Send us the device model, the app name and a photo of any error on WhatsApp. That is usually all we need to fix it in one message. You can also browse our customer support page for step-by-step fixes.